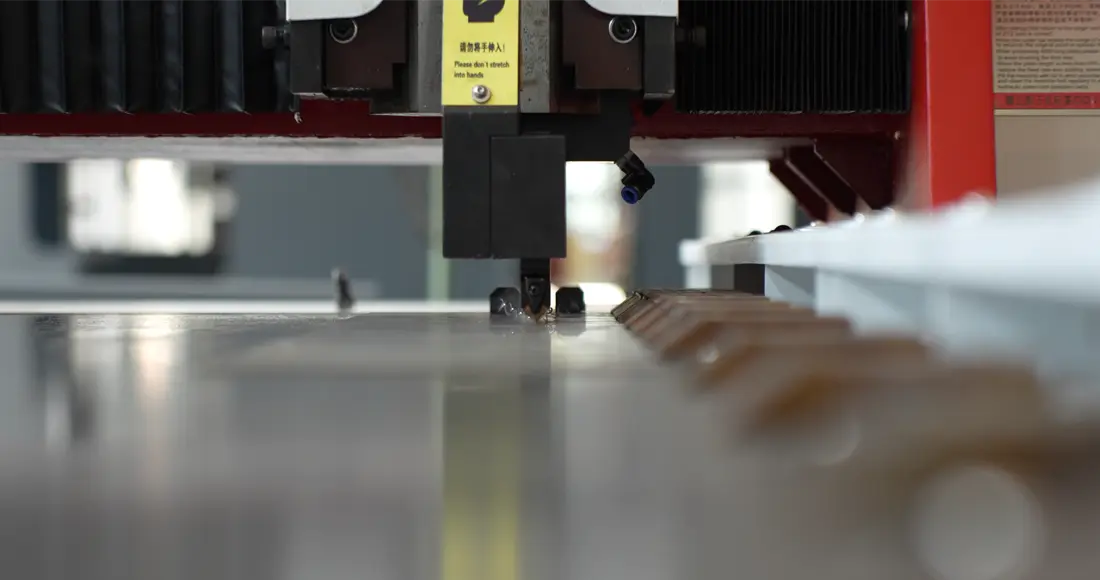
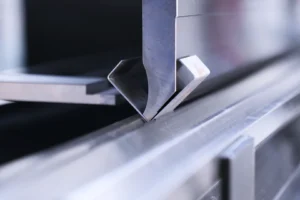
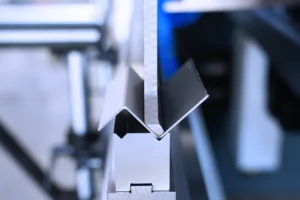
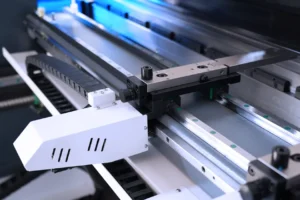
In manufacturing, a horizontal V groover machine can be used to create V-grooves in metal sheets for use in making car parts, appliances, and other products. In a previous article, we described the specific operation process of how to correctly install a horizontal V groove machine. Today, we will teach you how to correctly operate and use the horizontal V groove machine produced by KRRASS Machine Tool through the following articles.
Power-on testing and finding reference points
After the horizontal V groove machine's power line and air tube are connected, we need to conduct a power-on test and find a reference point for the device so that the horizontal V groove machine can completely enter the standby state and be ready to use at any time.
Power test
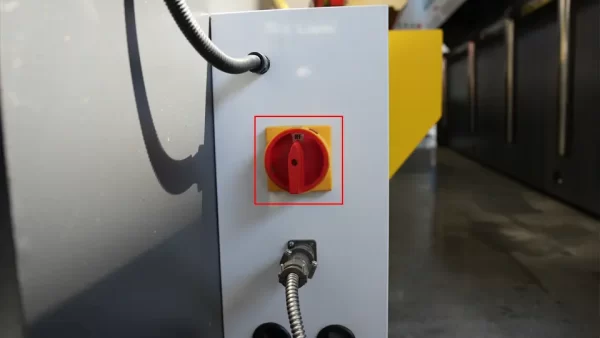
Step 1: You need to turn on the main power switch on the electric cabinet at the right rear of the fuselage, as shown in the picture:
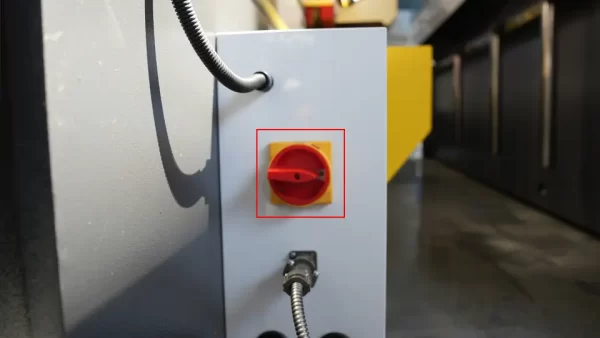
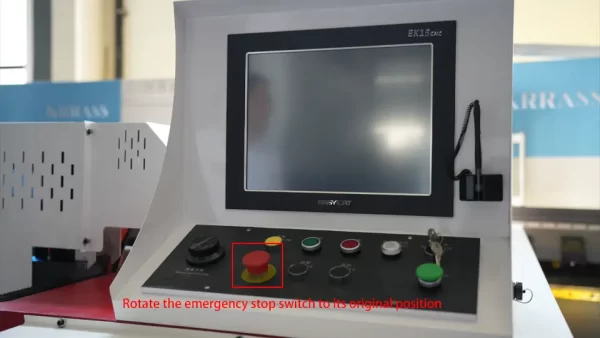
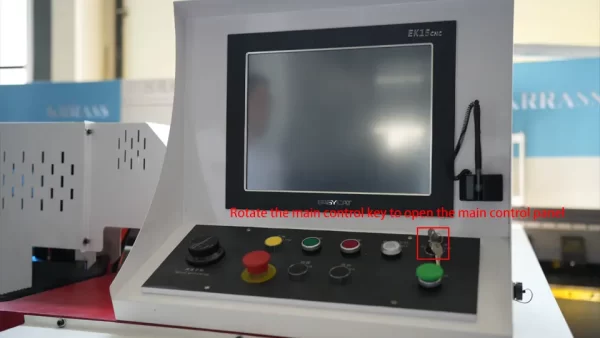
Step 2: Rotate the emergency stop switch on the main control panel to make it return to its original position, then turn the main control key to open the main control panel;
Find the reference point
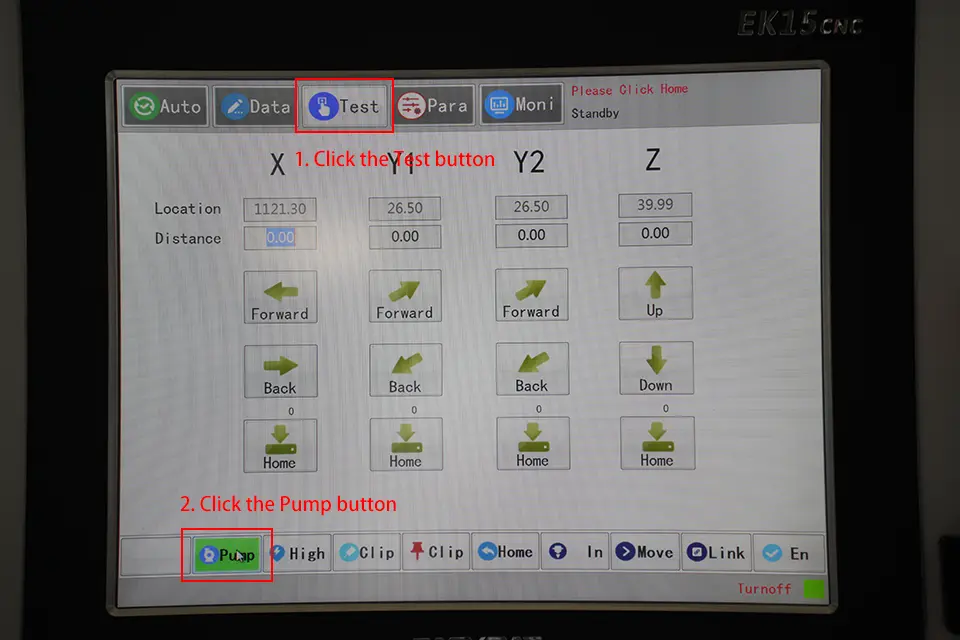
Step 3: Wait for the system to start and enter the operation interface, click the "Test" button above to enter the test page, and then click the "Pump" button below to start the oil pump;
Step 4: Long press the "Home" button, the device will automatically enter the state of finding the reference point, and wait for the device to complete the work of finding the reference point.
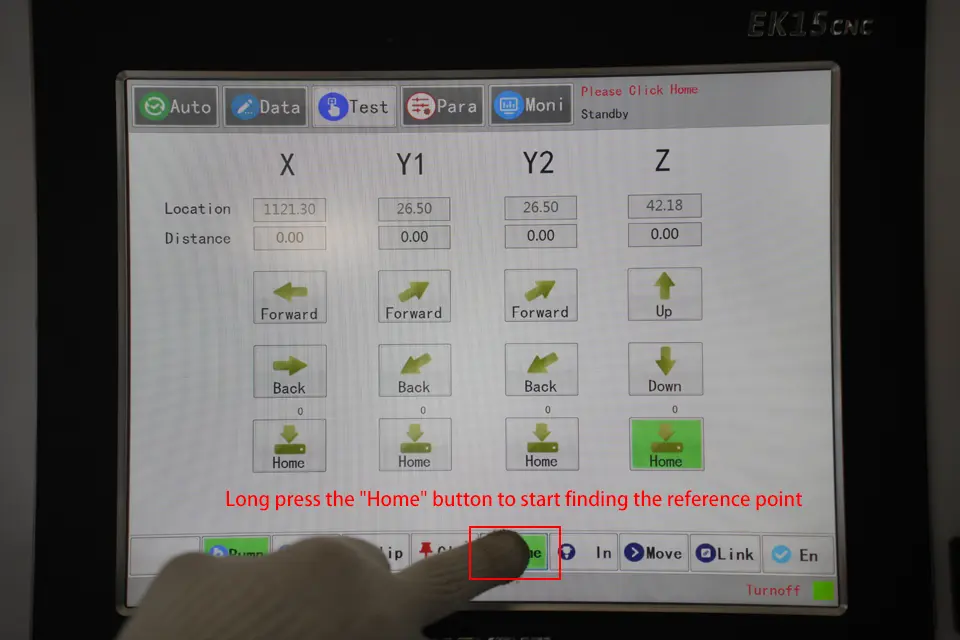
When the work of finding the reference point is completed, the equipment will officially enter the standby state. At this point, we can officially use this horizontal V groove machine to perform groove processing on metal sheets.
Measurement and Programming
When we use the horizontal V groove machine to groove the metal plate, we need to measure the metal plate first, and then use the main control panel of the horizontal V groove machine to program according to the size and thickness of the metal plate, and then set the Grooved cloth process. The specific operation steps are as follows:
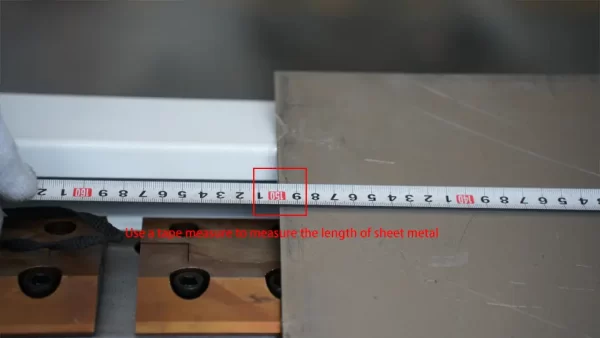
Measuring sheet metal
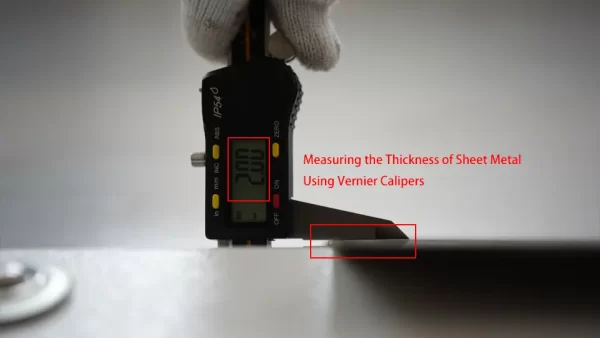
We need to use a tape measure and a vernier caliper to measure the length and thickness of the metal sheet that needs to be grooved, as shown in the figure:
Programming slotting steps
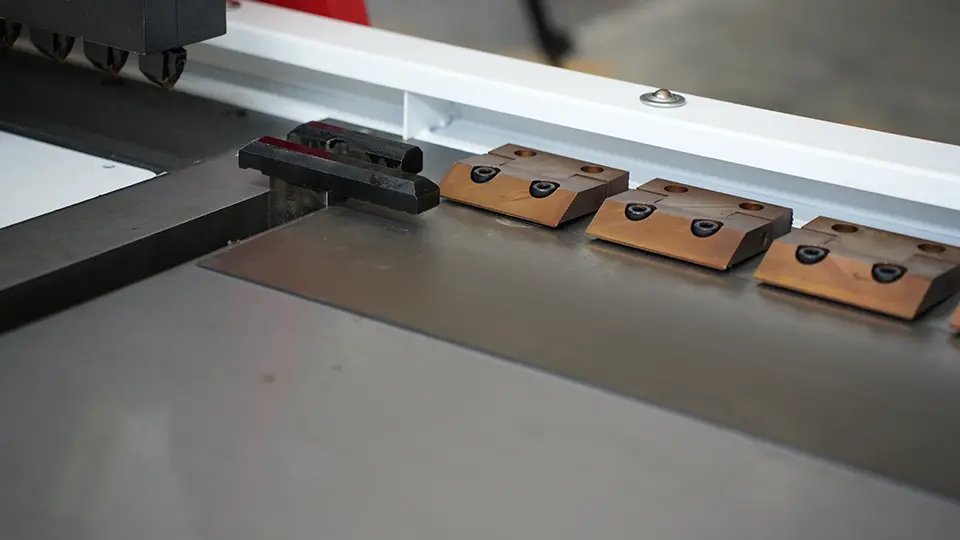
Step 2: Place the metal plate on the workbench of the horizontal V groove machine, with one side of the metal plate close to the edge of the workbench, as shown in the figure:
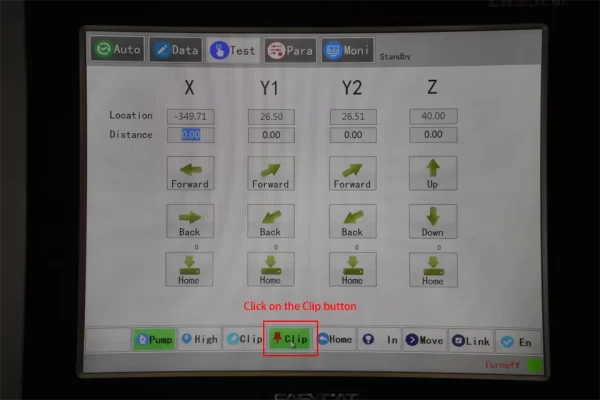
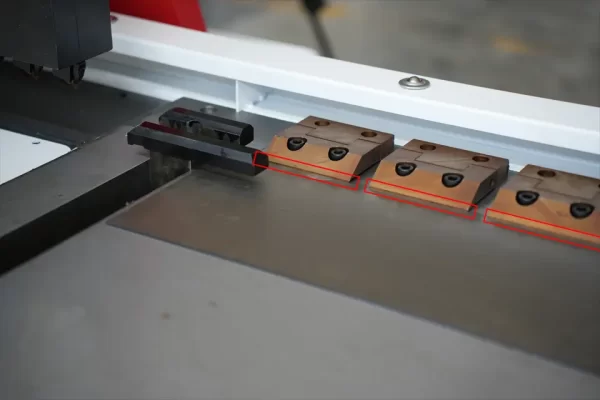
Step 3: Click the "Clip" button under the central control panel, and the hydraulic clamp will clamp the metal plate;
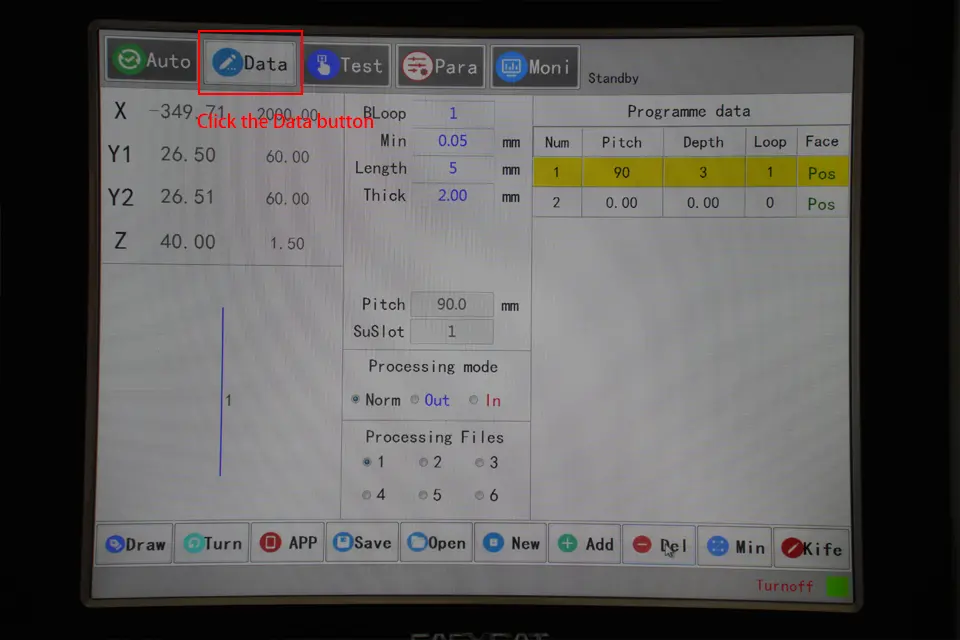
Step 4: Click the "Data" button at the top of the screen to enter the programming page, as shown in the figure:
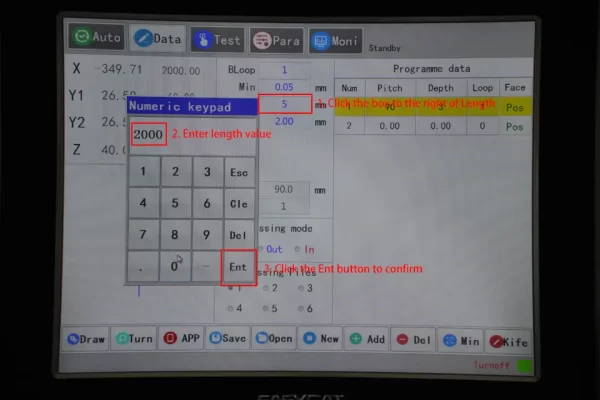
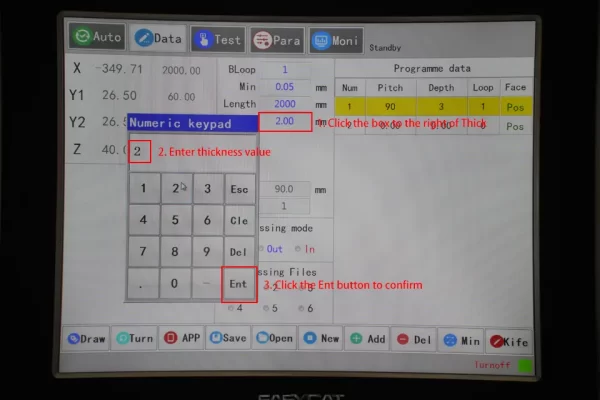
Step 5: Click the boxes on the right of the "Length" and "Thick" options in turn to set the length and thickness of the sheet metal, as shown in the figure:
Step 6: In the "Program Data" area on the right, click the "Pitch" and "Depth" options of the corresponding step in turn to set the slotting interval and slotting depth of the step, as shown in the figure:
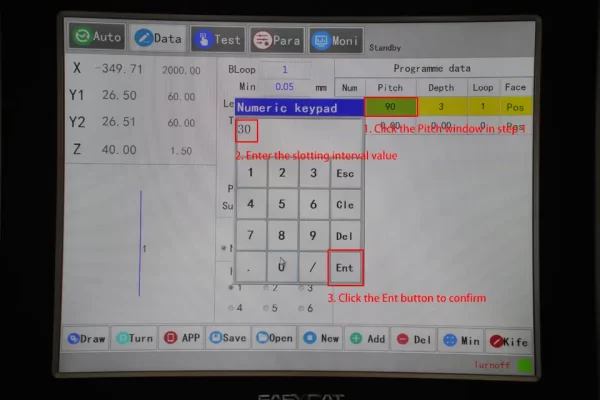
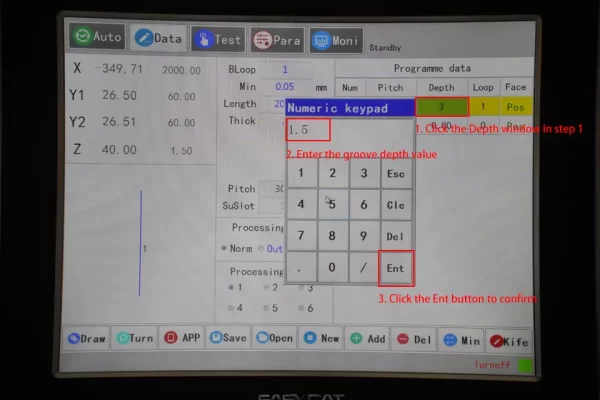
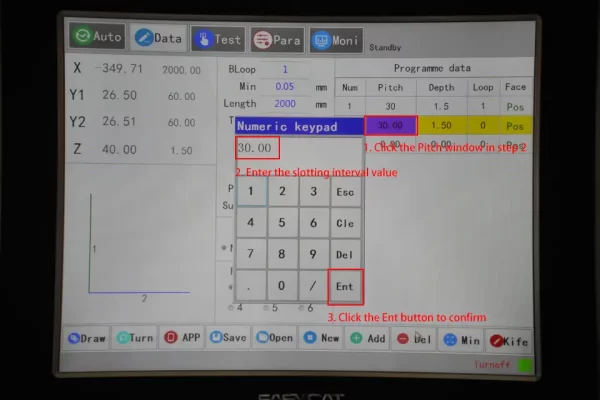
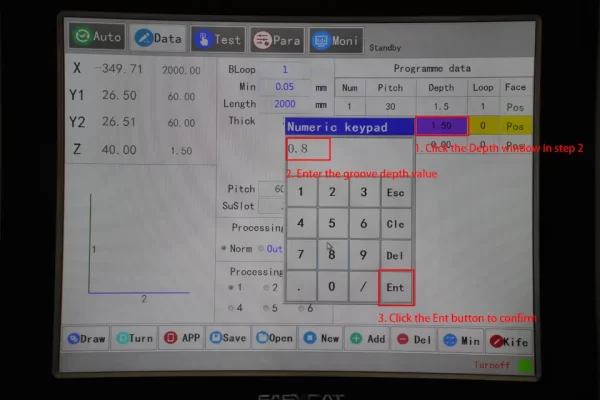
Note: The slotting interval here is the relative interval between each working step.
Step 7: Click the "Auto" button at the top of the screen to enter the automatic work page, as shown in the figure:
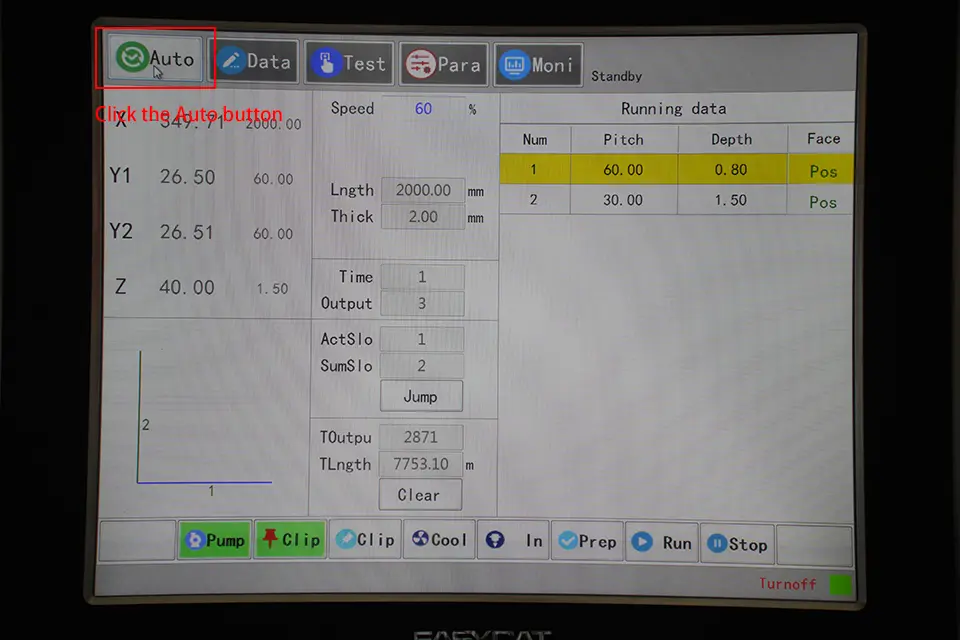
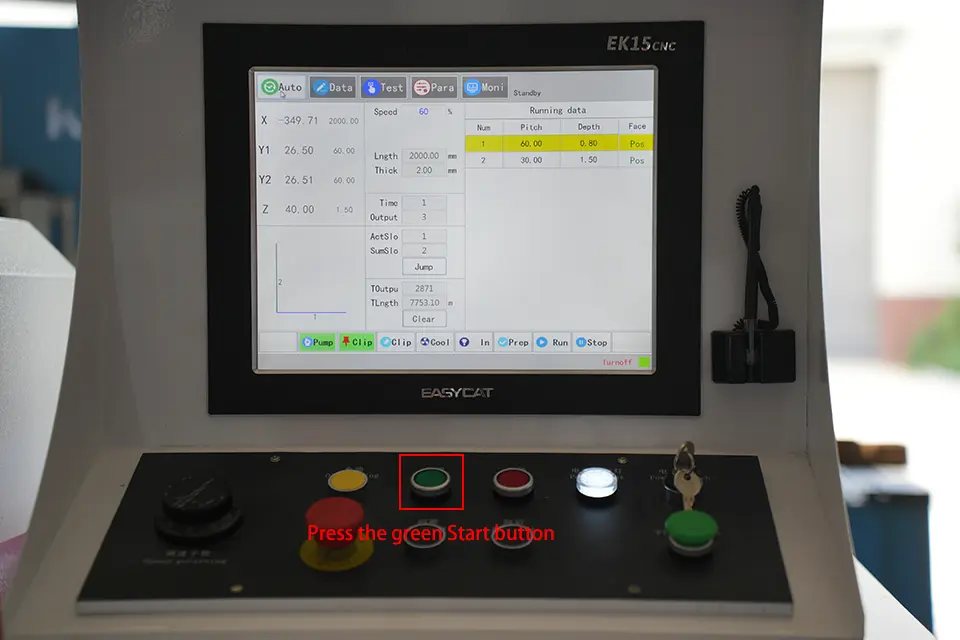
Step 8: Press the green "Start" button on the main control panel, the horizontal V groove machine will start the automatic groove operation until all the working steps are completed.
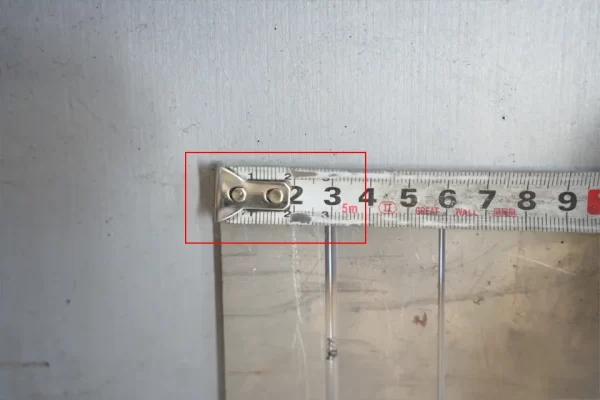
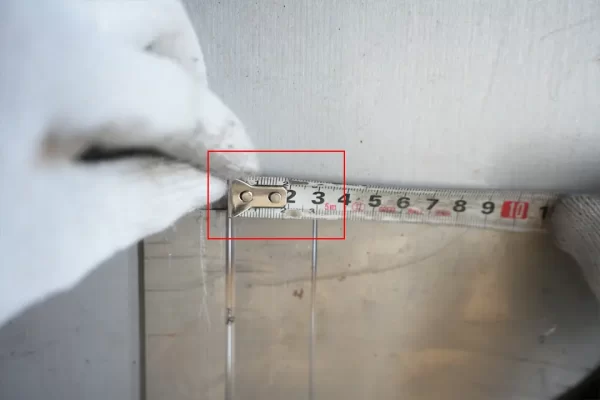
The above is the detailed operation process of the horizontal V groove machine. When we finish the slotting operation, remember to use the measuring tool to measure whether the interval between the plates is up to standard.
Well, I hope this article can let you understand the operation and use of horizontal V groove machine. If you just received your horizontal V groover machine and don’t know how to install it, you can read our article:
