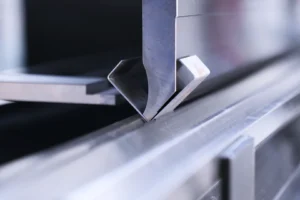
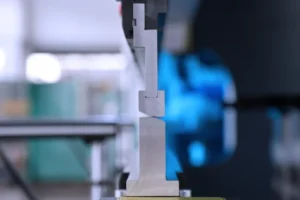
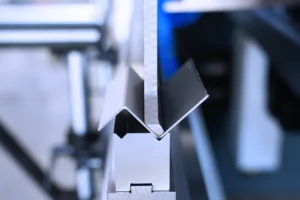
Today I want to introduce you to the correct operation method of Hydaulic press brake. Please follow the editor to understand it.
1. Install the upper and lower molds:
- Check the equipment, and select the corresponding upper and lower molds for installation according to the requirements of the shape, thickness and size of the product;
- Fasten the upper die on the upper stroke fixing plate with an Allen wrench and Allen screws;
- Loosen the positioning and lower mold clamping device, and adjust the lower mold to correspond to the upper mold (the lower mold cannot be tightened at this time).
2. Stroke adjustment:
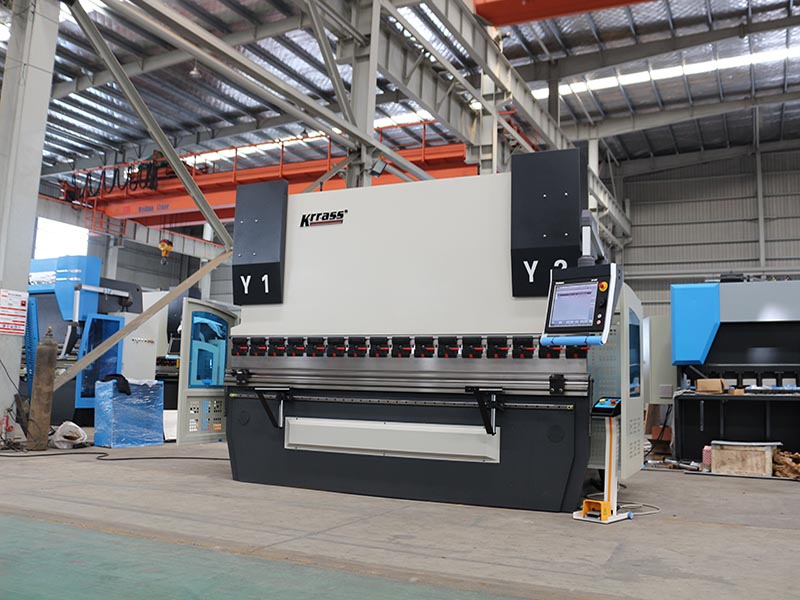
- Jog the foot switch to move the upper die downwards;
- When the distance between the upper mold and the lower mold is close to {t+(5-10mm)} (t sheet thickness), adjust the stroke controller on the back of the bending machine to make the current position of the upper mold stroke bottom dead center;
- Step on the foot switch to return the upper mold to the top dead center, press and hold the stroke fine-tuning down switch to make the upper mold move down more than {t+(5-10mm)}, click the foot switch to move the upper mold down and the lower mold The groove is completely ground and closed, and the lower mold is locked with the lower mold locking device at this time;
- The upper mold is retracted upward by stepping on the foot switch;
3. Trial bending:
- Put the scrap of the board with the same thickness as the bending process on the groove of the lower mold;
- Step on the foot switch to move the upper die down to bend the material. Adjust the stroke fine-tuning switch to make the bending angle of the material meet the technical requirements of the drawing;
- Step on the foot switch to make the upper die return to the top dead center.
4. Adjust positioning:
- Determine the bending height dimension h according to the drawings and process requirements;
- Adjust the positioning through the height of the bending, until the height of the bent workpiece meets the requirements of the drawing;
- One of the adjustment and positioning methods:
(1) Measure the distance L from the center of the groove of the lower mold to the outer edge of the lower mold;
(2) Use the vernier caliper and the positioning adjustment switch to adjust the size of the edge to the positioner=L+h.
5. Testing:
Take out the workpiece to check whether the bending angle and size meet the technical requirements of the drawing. If not, continue to test the mold and adjust the positioning until the angle of the bent workpiece meets the requirements of the drawing.
6. Place the workpiece:
- Place the workpiece on the lower mold by hand, and position the front end tightly;
- hold the workpiece in your hand, keep the distance between the person and the workpiece about one arm away;
- When the workpiece is large, 2 or more people are required to assist in bending.
7. bending:
- Step on the pedal stroke down switch with your foot;
- As the upper and lower molds are closed, the two ends of the workpiece will be slowly turned upwards (be careful not to scratch the hands);
- When the upper die reaches the bottom dead center, use your foot to step on the pedal stroke up switch to the top dead center;
- Remove the workpiece and place it;
- If it is batch bending, the steps are the same as above.
8. The end of bending:
- Lower the upper die to the bottom dead center;
- Disconnect the power supply;
- Clean up the scene.
The above is all the information of the Hydaulic press brake prepared by the editor today. I hope to help you.
Learn more about our products, please visit and subscribe to our Youtube channel
