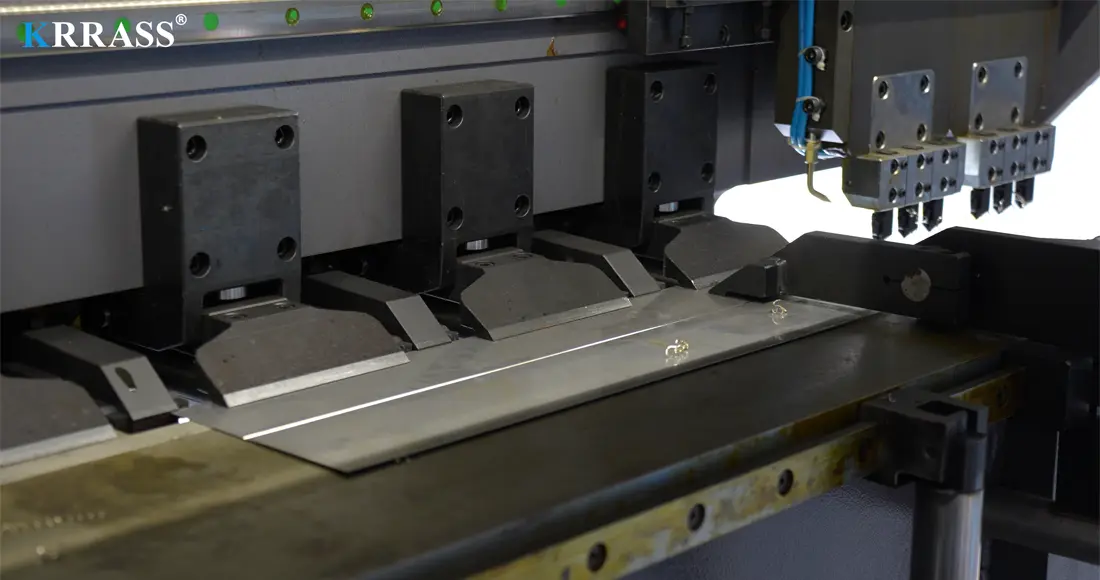
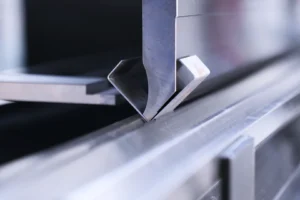
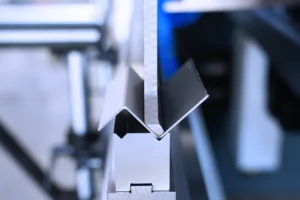
A vertical V grooving machine is a machine used to cut V-shaped grooves in sheet metal. It consists of a vertical tool holder and a horizontal workbench. The knife holder has a head with a V-shaped blade. The sheet metal is placed on the table and the carriage moves down to cut the V-shaped groove.
We will teach you how to properly operate and use a vertical V grooving machine in this article:
Video Tutorial
https://www.youtube.com/watch?v=BigPoBJBjhs&t=12s
If you don't want to watch video tutorials, you can also check out the graphic tutorials below:
Graphic Tutorial
Preparation
1. Before using the vertical V grooving machine, we need to connect the main power cable;


Note: The ground wire should also be connected.
2. Check and reset all emergency stop buttons on airframe and controller;


3. Turn on the power switches on the controller and the host panel in turn;


4. Switch the controller operation interface to the manual page, start the oil pump, press and hold the reset button, and return to the reference point;


Programming
5. Measure the length and thickness of the metal plate that needs to be slotted;


6. Switch the controller operation interface to the Programming page, and set the length and thickness of the metal plate to be slotted in turn;


7. In the controller operation interface, set the interval distance and slotting depth of each working step in turn, after the setting is complete, switch to the Automatic tab interface;


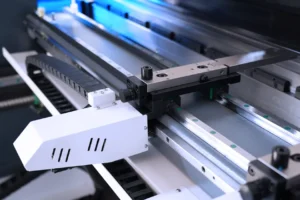
08. Place the metal plate that needs to be grooved on the working table of the vertical V grooving machine, and cling to the rear support material;

09. Press the movable foot button to clamp the metal plate;


Grooving
10. Press the start button on the controller panel, the vertical V grooving machine starts to do the grooving work;


Measurement
11. Measure whether the data of each working step meets the requirements.


The above are the related tutorials on how to use the KRRASS vertical V grooving machine. If you have just purchased our vertical V grooving machine and don’t know how to install and use it, you can read this article first:

Reviewed by 2 users
Z phase overlap of orgine
I have been facing this problem since Monday, but no one has asked yet what the problem is
V grooving machine
Very good metal grooving machine.