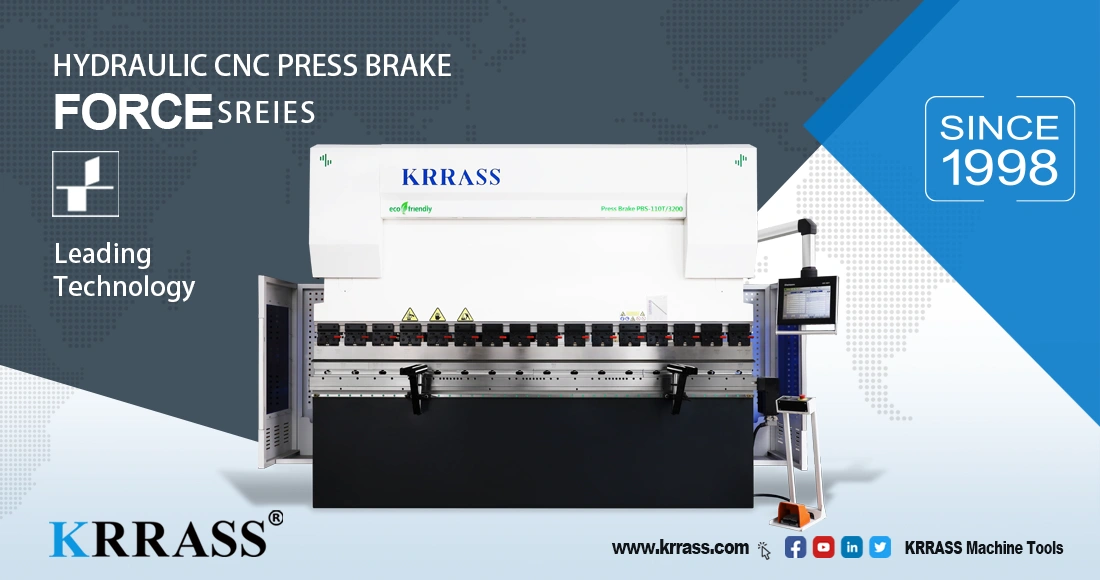
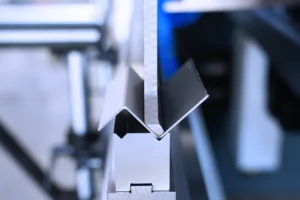
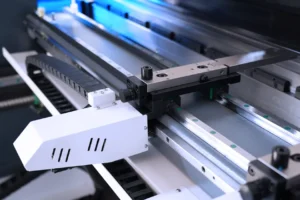
Press brakes use dies (generally or specially formed dies) to cut the cold rolled sheet into different geometric shapes. The press brakes can quickly perform movements such as falling or walking, continuous traction, return stroke or stop halfway, and bending multiple elbows at a feed. The press brake application field is vast, including automobile, aircraft, light industry, shipbuilding, containers, elevators, and other manufacturing industry plate bending processing.
When it comes to CNC press brake, we often hear people talking about professional words such as the X axis, Y axis, Z axis, R axis, etc. Many users who come into contact with the press brake for the first time will need to distinguish between these axes and learn how to distinguish them.
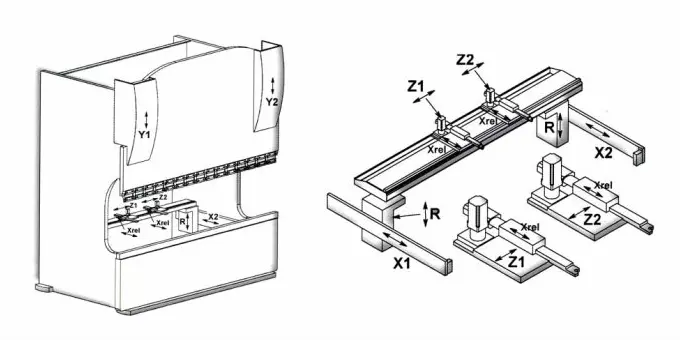
The axis of the CNC press brake is an integral part of its work. Because different axes control the different directions of motion of various bending parts, we will explain each axis in detail.
1. What is the axis of the press brake?
On a CNC bending machine, the various axes control the movement of different parts in different directions. The press brake can use these axes to adjust the size and angle of the bend.
We often see the X-axis, Y-axis, Z-axis, and R-axis in technical data. What are the X-axis and Y-axis? What are their functions?
Y-axis
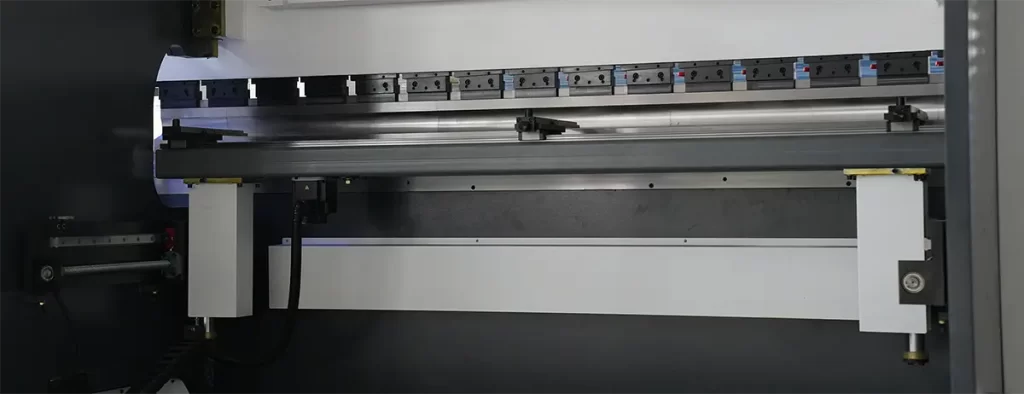
What is the Y-axis of the press brake? We can find the Y axis on various CNC bending machines, usually divided into Y1-axis and Y2-axis. The Y-axis of the CNC bending machine can control the stroke of the cylinders on both sides, that is, the up and down movement of the press brake slider.
What is the role of the Y-axis? They work independently on both sides of the top of the machine. The presence of the Y-axis makes the descent of the slider very smooth, uniform, and stable. And the two can be adjusted independently, ensuring complete control of the beam of the light level.
X-axis
The X-axis is used to control the back-and-forth movement of the back gauge. So, what is the role of the X-axis and the back gauge?
When we need to measure the flange length of a bending workpiece, the X-axis of the press brake is useful. We only need to contact the metal plate with the backstop to determine the exact bending point and perform the bending operation.
Like the Y-axis of the press brake, the X-axis of the CNC bending machine also includes the X1-axis and X2-axis, which are the front and rear movement axes of the left and right rear stop, respectively.
R-axis
The R-axis of the press brake is similar to the X-axis and can control the up-and-down movement of the back gauge. It is ideal for bending work of inclined and customized workpieces. If you want to put an already turned workpiece into the press brake for re-bending, and the workpiece has a height difference, the R-axis will be especially important.
The R1-axis and the R2-axis are the up and down moving axes of the left and right back gauge fingers, respectively.
Z-axis
The CNC bending machine's Z-axis controls the back gauge's left-and-right movement. The Z-axis also includes the Z1-axis and Z2-axis, which are the left and right moving axes of the left and right rear gear, respectively, and both can be independently programmed.
If you need to bend a small workpiece or adjust the width of the back gauge finger frequently, the independently programmable Z-axis will be your time-saving and labor-saving helper.
V-axis
The V-axis of the press brake is the crowning compensation of the work table. If the workpiece you need to bend is heavy, the crowning compensation will become a severe problem. The V-axis of the press brake can help you reduce this risk by symmetrically adjusting the beam of light. It alters the entire shaft of light but focuses more on the bending resistance in the middle.
To obtain the highest accuracy, most CNC press brake manufacturers will directly install the crowning compensation of the worktable during the production process of the press brake.
2. How to understand the number of axes of the CNC bending machine?
What is a 2-axis CNC press brake? The torque bar synchronous press brake with a numerical control system usually has two axes, namely: X-axis and Y-axis. The CNC electro-hydraulic servo press brake has more axes, including 6+1 axes, 8+1 axes, and even up to 18 axes.
In the configuration of the CNC bending machine, we often see 3 + 1, 4 + 1, 6 + 1, and 8 + 1... what do these represent?
- 3+1 axis: Y1, Y2, X, + V;
- 4+1 axis: Y1, Y2, X, R, +V;
- 6+1 axis: Y1, Y2, X, R, Z1, Z2, +V;
- 8+1 axis: Y1, Y2, X1, X2, R1, R2, Z1, Z2, +V;
The general standard press brake is the 4 + 1 axis press brake. The 3 + 1 axis press brake is usually a low-profile press brake. The 6 + 1 axis and 8 + 1 axis press brakes, also known as multi-axis CNC press brakes, have higher performance. The higher the high-end, multi-axis numerical control press brake usually has more axes.
3. How to choose the number of axes of the CNC bending machine?
When most customers buy press brakes, the number of axes is critical in the configuration discussion. Because the number of axes of the press brake determines the machining capacity of the machine, in short, the more axes of the press brake, the more complex the workpiece can be machined.
At the same time, the more axes of the press brakes, the higher the machine's price. Therefore, we need to make reasonable purchases according to demand and budget.
Useful tips:
- The 3-Axis NC press brake and 4-axis CNC press brake are the most basic configurations suitable for the basic needs of ordinary users. In contrast, high-end users prefer multi-axis type press brakes.
- We recommend choosing the press brake with the R-axis configuration if you need to perform multiple bending operations on very complex workpieces. The 8-axis CNC press brake is the best choice for efficient production.
- If you are machining miniature sheets and are alternating between different widths, you will need Z1-axis and Z2-axis. The 6-axis press brake will be a cost-effective option! This way, you can manually adjust the spacing of the back gauge fingers for each additional bending action.
Learn more about our products, please visit and subscribe to our Youtube channel
